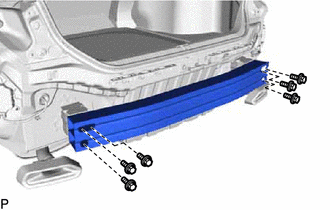
REASSEMBLY PROCEDURE 1. INSTALL REAR BUMPER REINFORCEMENT
2. INSTALL REAR BUMPER ENERGY ABSORBER (a) Engage the 2 guides to install the rear bumper energy absorber as shown in the illustration. 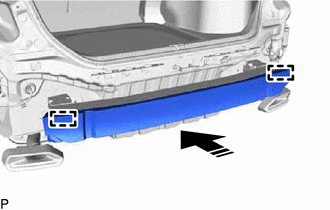
3. INSTALL REAR BUMPER SIDE SEAL LH
4. INSTALL REAR BUMPER SIDE SEAL RH
(b) for HV Model: (1) Install the 3 clips.
5. INSTALL REAR BUMPER UPPER RETAINER LH
(b) Engage the grommet. (c) Engage the guide and pin as shown in the illustration to temporarily install the rear bumper upper retainer LH and rear combination light assembly LH as a set. 
(d) Install the rear combination light assembly with the 2 screws (A). (e) Engage the clamp. (f) Connect the connector. (g) Install the rear bumper upper retainer LH with the screw (B). 6. INSTALL REAR BUMPER UPPER RETAINER RH HINT: Use the same procedure as for the LH side. 7. INSTALL LUGGAGE COMPARTMENT TRIM INNER COVER LH Click here
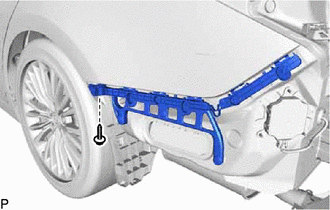
8. INSTALL LUGGAGE COMPARTMENT TRIM INNER COVER RH Click here 9. INSTALL LUGGAGE TRIM SERVICE HOLE COVER (for HV Model) Click here 10. INSTALL LUGGAGE COMPARTMENT INNER TRIM PAD Click here 11. INSTALL REAR FLOOR FINISH PLATE Click here 12. INSTALL NO. 1 LUGGAGE COMPARTMENT TRIM HOOK Click here 13. INSTALL BAGGAGE HOLDER NET Click here 14. INSTALL SPARE WHEEL COVER ASSEMBLY Click here 15. INSTALL REAR BUMPER SIDE RETAINER LH (a) Engage the guide as shown in the illustration. 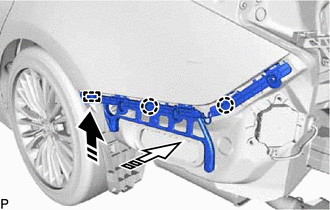
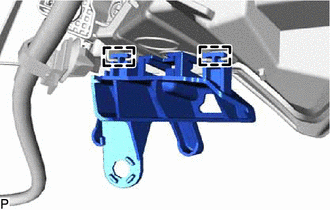
(b) Engage the 2 claws as shown in the illustration. (c) Engage the 3 clips as shown in the illustration. 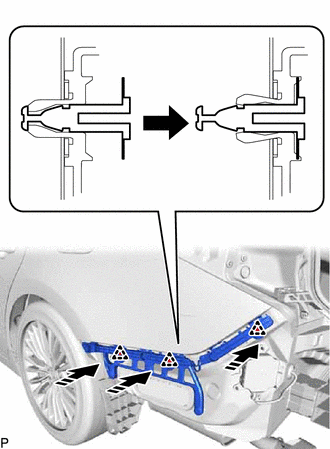
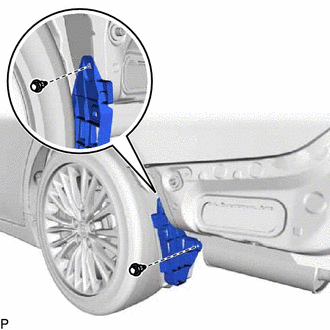
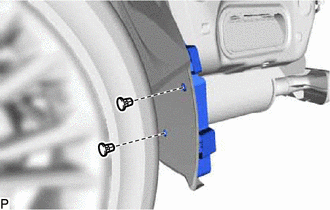
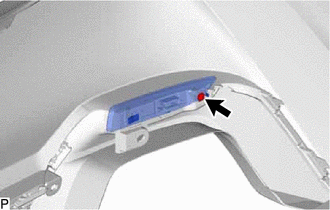
16. INSTALL REAR BUMPER SIDE RETAINER RH HINT: Use the same procedure as for the LH side. 17. INSTALL LOWER REAR BUMPER COVER (a) Engage the 2 guides and 14 claws. 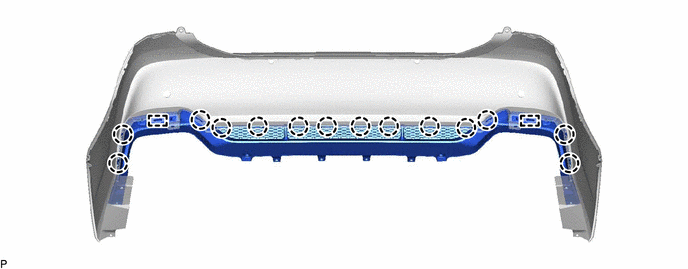 (b) Install the 2 clips (A). 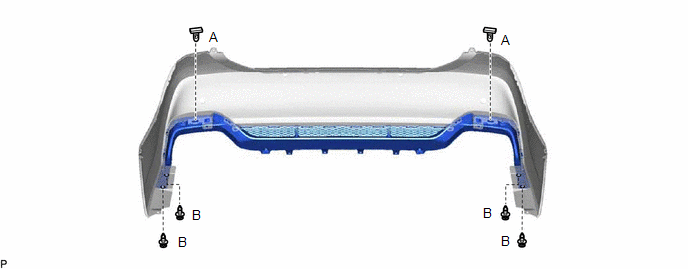 (c) Install the lower rear bumper cover with the 4 clips (B). 18. INSTALL REFLEX REFLECTOR ASSEMBLY LH (a) Engage the 2 guides as shown in the illustration. 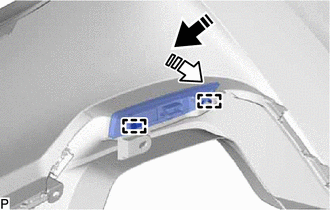
19. INSTALL REFLEX REFLECTOR ASSEMBLY RH HINT: Use the same procedure as for the LH side. 20. INSTALL NO. 2 LUGGAGE ROOM WIRE (w/ Intuitive Parking Assist System) 21. INSTALL FOG LIGHT SEAL (w/ Intuitive Parking Assist System) HINT: When installing the fog light seals, heat the rear bumper cover using a heat light. Heating Temperature
CAUTION:
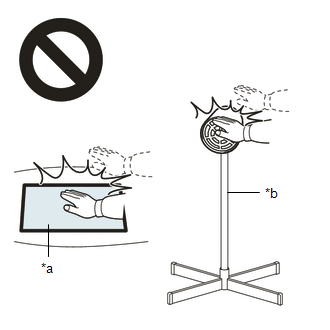
NOTICE: Do not heat the rear bumper cover excessively. (a) Clean the rear bumper cover surface. (1) Using a heat light, heat the rear bumper cover surface. (2) Remove any remaining double-sided tape from the rear bumper cover. (3) Wipe off any tape adhesive residue with cleaner. (b) Remove the release paper from 5 new fog light seals. HINT: After removing the release paper, keep the exposed adhesive free from foreign matter. (c) Install the 5 fog light seals as shown in the illustration. 
HINT: Press the fog light seal firmly to install it. 22. INSTALL REAR CORNER ULTRASONIC SENSOR RETAINER (w/ Intuitive Parking Assist System) Click here HINT: Use the same procedure for the RH side and LH side. 23. INSTALL REAR CENTER ULTRASONIC SENSOR RETAINER (w/ Intuitive Parking Assist System) Click here HINT: Use the same procedure for the RH side and LH side. 24. INSTALL REAR CORNER ULTRASONIC SENSOR (w/ Intuitive Parking Assist System) Click here HINT: Use the same procedure for the RH side and LH side. 25. INSTALL REAR CENTER ULTRASONIC SENSOR (w/ Intuitive Parking Assist System) Click here HINT: Use the same procedure for the RH side and LH side. |
Toyota Avalon (XX50) 2019-2022 Service & Repair Manual > Sliding Roof System(for Gasoline Model): Operation Check
OPERATION CHECK CHECK AUTO OPERATION FUNCTION NOTICE: Make sure that initialization has been completed before performing this inspection. Click here The sliding roof auto operation can be customized. Make sure that the auto operation customize setting is set to ON. Click here HINT: When a switch is ...