Components COMPONENTS ILLUSTRATION 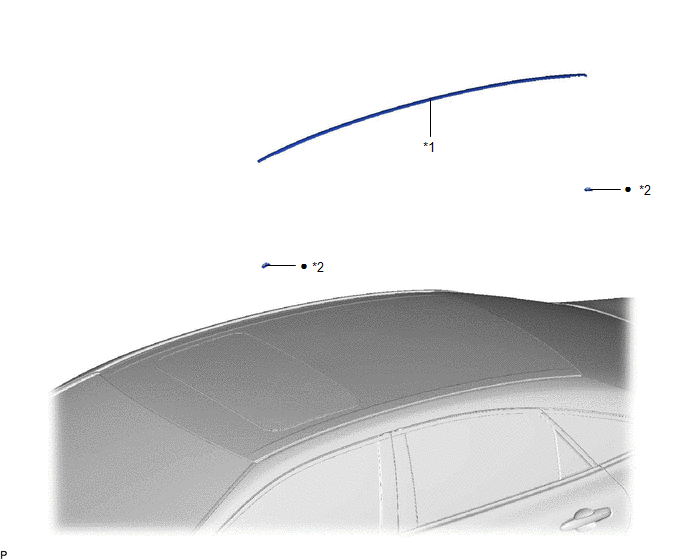
Installation INSTALLATION CAUTION / NOTICE / HINT HINT:
PROCEDURE 1. INSTALL NO. 1 ROOF DRIP SIDE FINISH MOULDING CLIP NOTICE: When installing new No. 1 roof drip side finish moulding clips, remove any double-sided tape remaining where the No. 1 roof drip side finish moulding clips will be installed on the vehicle body and clean the vehicle body with a non-residue solvent.
(b) Install the 2 No. 1 roof drip side finish moulding clips to the positions on the roof panel shown in the illustration. Determine the locations and firmly press and install the 2 No. 1 roof drip side finish moulding clips. 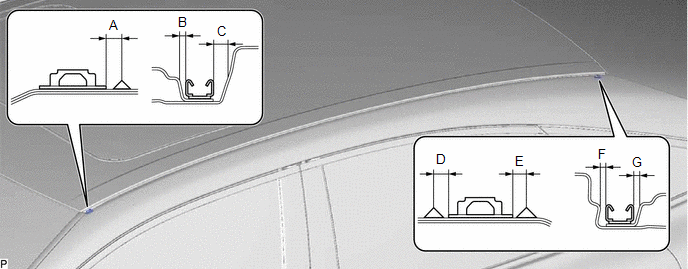 Standard Measurement:
(c) Wait at least 40 minutes before installing the center roof drip side finish moulding. HINT:
2. INSTALL CENTER ROOF DRIP SIDE FINISH MOULDING (a) Engage the 2 clips to install the center roof drip side finish moulding as shown in the illustration. 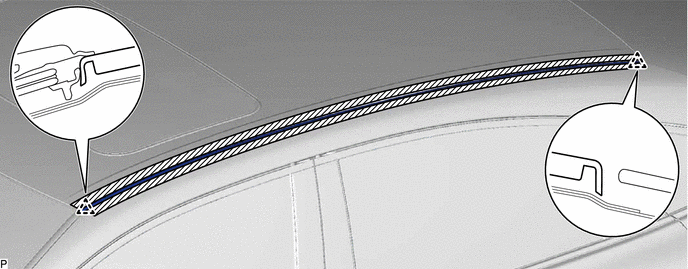 Removal REMOVAL CAUTION / NOTICE / HINT HINT:
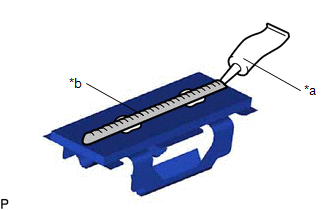
PROCEDURE 1. REMOVE CENTER ROOF DRIP SIDE FINISH MOULDING (a) Apply protective tape around the center roof drip side finish moulding as shown in the illustration. 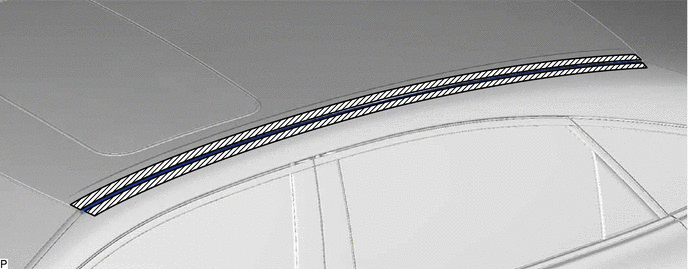
(b) Using a moulding remover, disengage the 2 clips and remove the center roof drip side finish moulding. 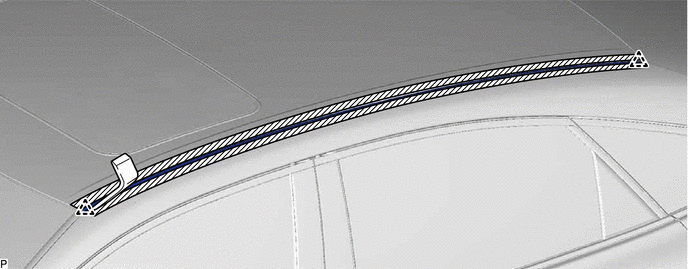
NOTICE:
|
Toyota Avalon (XX50) 2019-2022 Service & Repair Manual > Outer Rear View Mirror: Removal
REMOVAL CAUTION / NOTICE / HINT The necessary procedures (adjustment, calibration, initialization, or registration) that must be performed after parts are removed and installed, or replaced during outer rear view mirror assembly with cover removal/installation are shown below. Necessary Procedure Af ...