INSTALLATION PROCEDURE 1. INSTALL TRANSMISSION FLOOR SHIFT ASSEMBLY (a) Engage the clamp to connect the wire harness to the transmission floor shift assembly. (b) Connect the shift lock control ECU connector. (c) Engage the clamp to connect the wire harness to the transmission floor shift assembly. (d) Connect the transmission control switch connector. (e) Install the clip to the No. 1 console box duct.
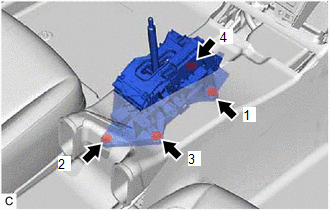
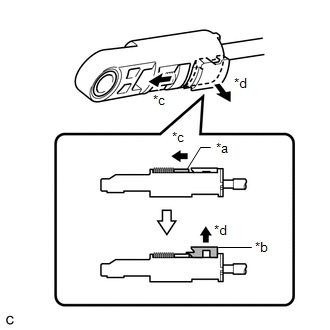
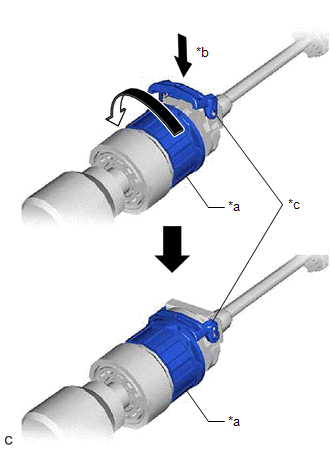
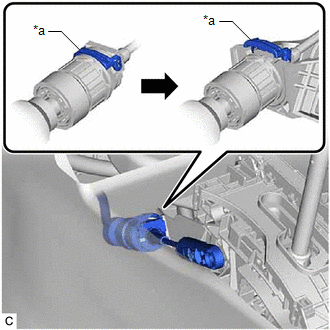
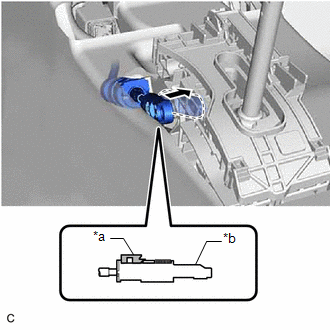
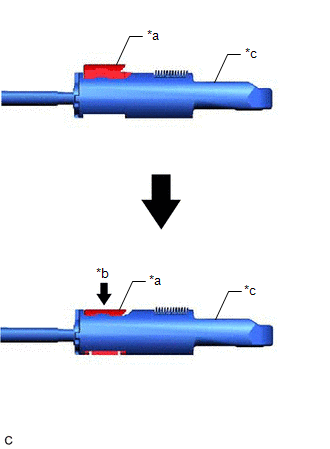
(g) Tighten the 4 bolts in the order shown in the illustration. Torque: 12 N·m {122 kgf·cm, 9 ft·lbf} 2. CONNECT TRANSMISSION CONTROL CABLE ASSEMBLY NOTICE: Before connecting the transmission control cable assembly, check that the shift lever is in N.
(f) After adjusting the shift lever position, check the position and operation of the shift lever. If there is a problem, adjust the shift lever position again. 3. INSTALL CONSOLE BOX ASSEMBLY Click here
4. INSTALL SHIFT LEVER KNOB SUB-ASSEMBLY Click here 5. INSTALL SHIFT LOCK RELEASE BUTTON COVER (a) Engage the 2 claws and guide to install the shift lock release button cover to the rear upper console panel sub-assembly. 6. INSPECT SHIFT LEVER POSITION Click here
7. ADJUST SHIFT LEVER POSITION Click here
|
Toyota Avalon (XX50) 2019-2022 Service & Repair Manual > Smart Key System(for Start Function, Hv Model): Open / Short in Steering Lock ECU (B2781)
DESCRIPTION The steering lock ECU and steering lock motor are built into the steering lock actuator or upper bracket assembly. The steering lock ECU (steering lock actuator or upper bracket assembly) detects whether the steering lock is in the lock or unlock position by using the lock sensor and unl ...