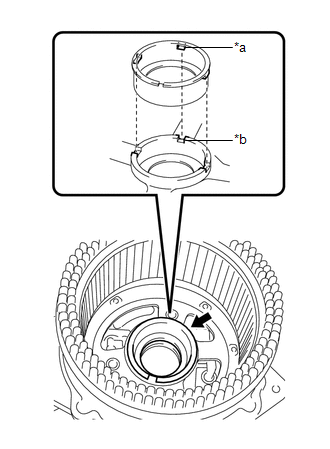
REASSEMBLY PROCEDURE 1. INSTALL GENERATOR DRIVE END FRAME BEARING
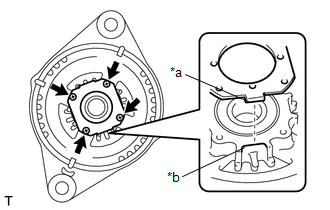
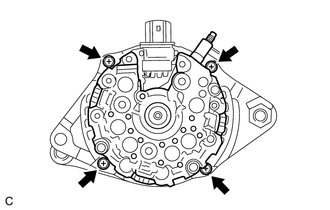
(c) Install the 4 screws. Torque: 2.3 N·m {23 kgf·cm, 20 in·lbf} 2. INSTALL GENERATOR ROTOR ASSEMBLY (a) Place the generator drive end frame on the generator pulley with clutch.
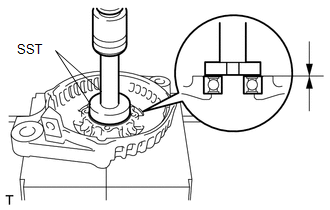
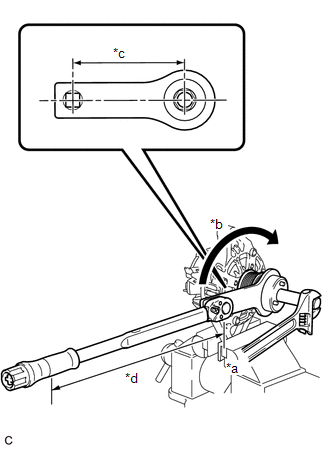
3. INSTALL GENERATOR PULLEY WITH CLUTCH (a) Temporarily install the generator pulley with clutch to the rotor shaft. (b) Secure the generator drive end frame in a vise between aluminum plates.
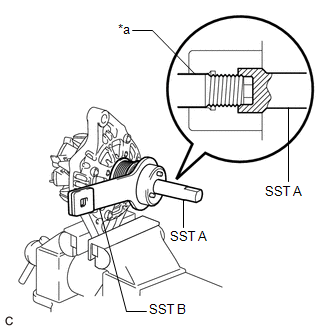
(d) Fit SST (B) to the generator pulley with clutch.
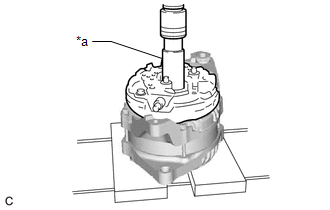
(f) Remove SST (A) and (B) from the generator pulley with clutch. (g) Check that the generator pulley with clutch rotates smoothly. (h) Remove the generator drive end frame from the vise. 4. INSTALL GENERATOR COIL ASSEMBLY
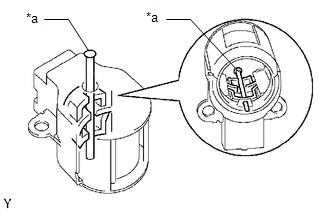
5. INSTALL GENERATOR BRUSH HOLDER ASSEMBLY
(b) Install the generator brush holder assembly to the generator coil assembly with the 2 screws. 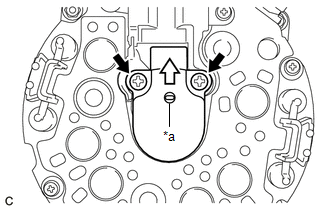
Torque: 1.8 N·m {18 kgf·cm, 16 in·lbf} (c) Pull out the pin from the generator brush holder assembly hole. 6. INSTALL GENERATOR TERMINAL INSULATOR
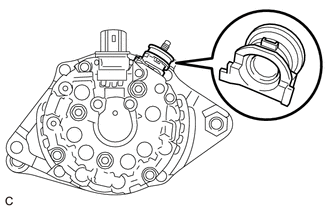
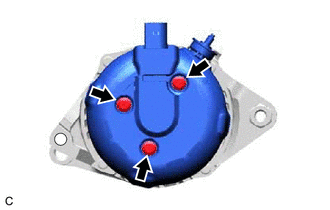
7. INSTALL GENERATOR REAR END COVER
8. INSTALL GENERATOR PULLEY CAP (a) Install a new generator pulley cap to the generator pulley with clutch. |
Toyota Avalon (XX50) 2019-2022 Service & Repair Manual > Rear Brake Flexible Hose: Installation
INSTALLATION CAUTION / NOTICE / HINT NOTICE: Because the left and right rear flexible hoses are not interchangeable, verify the part number when installing the rear flexible hoses. When reusing the rear flexible hoses, use the identification marks created during removal to install each rear flexible ...