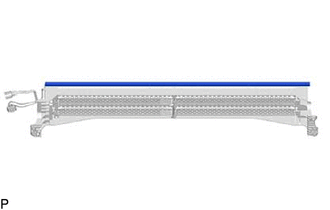
REASSEMBLY PROCEDURE 1. INSTALL NO. 2 RADIATOR GRILLE SEAL HINT: When installing the No. 2 radiator grille seal, heat the radiator shutter using a heat light. Heating Temperature
CAUTION:
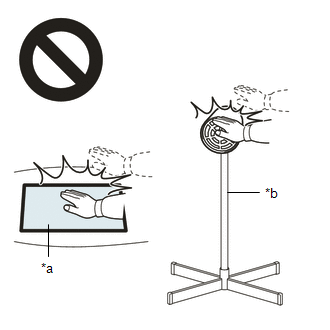
NOTICE: Do not heat the radiator shutter excessively. (a) Clean the radiator shutter surface. (1) Using a heat light, heat the radiator shutter surface. (2) Remove any remaining double-sided tape from the radiator shutter. (3) Wipe off any tape adhesive residue with cleaner. (b) Remove the release paper from a new No. 2 radiator grille seal. HINT: After removing the release paper, keep the exposed adhesive free from foreign matter.
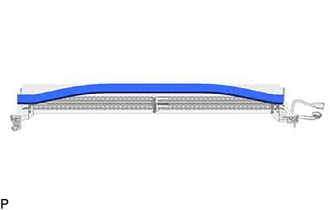
2. INSTALL NO. 1 RADIATOR GRILLE SEAL HINT: When installing the No. 1 radiator grille seal, heat the radiator shutter using a heat light. Heating Temperature
CAUTION:
NOTICE: Do not heat the radiator shutter excessively. (a) Clean the radiator shutter surface. (1) Using a heat light, heat the radiator shutter surface. (2) Remove any remaining double-sided tape from the radiator shutter. (3) Wipe off any tape adhesive residue with cleaner. (b) Remove the release paper from a new No. 1 radiator grille seal. HINT: After removing the release paper, keep the exposed adhesive free from foreign matter.
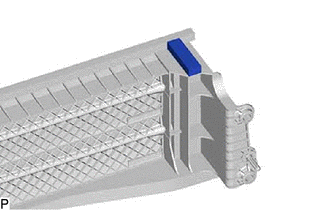
3. INSTALL NO. 3 RADIATOR GRILLE SEAL HINT:
CAUTION:
NOTICE: Do not heat the radiator shutter excessively. (a) Clean the radiator shutter surface. (1) Using a heat light, heat the radiator shutter surface. (2) Remove any remaining double-sided tape from the radiator shutter. (3) Wipe off any tape adhesive residue with cleaner. (b) Remove the release paper from a new No. 3 radiator grille seal. HINT: After removing the release paper, keep the exposed adhesive free from foreign matter.
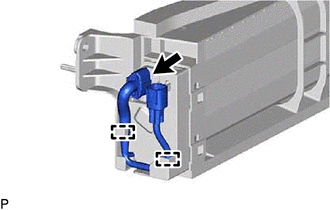
4. INSTALL SWING GRILLE ACTUATOR ASSEMBLY (a) When installing a new swing grille actuator assembly: (1) Open the grille shutter fin as shown in the illustration. 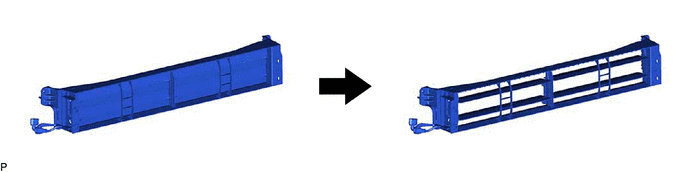 (b) Install the swing grille actuator assembly as shown in the illustration. 
5. INSTALL MOTOR COVER (a) Engage the 4 claws to install the motor cover as shown in the illustration. 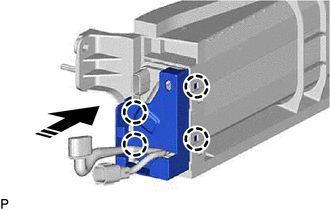
(c) Connect the connector. |
Toyota Avalon (XX50) 2019-2022 Service & Repair Manual > Rear Airbag Sensor: Installation
INSTALLATION CAUTION / NOTICE / HINT HINT: Use the same procedure for the RH side and LH side. The following procedure is for the LH side. PROCEDURE 1. INSTALL SIDE NO. 2 AIRBAG SENSOR (a) Check that the engine switch (for Gasoline Model) or power switch (for HV Model) is off. (b) Check that the cab ...