DESCRIPTION The headlight ECU sub-assembly controls the high beam headlights. WIRING DIAGRAM 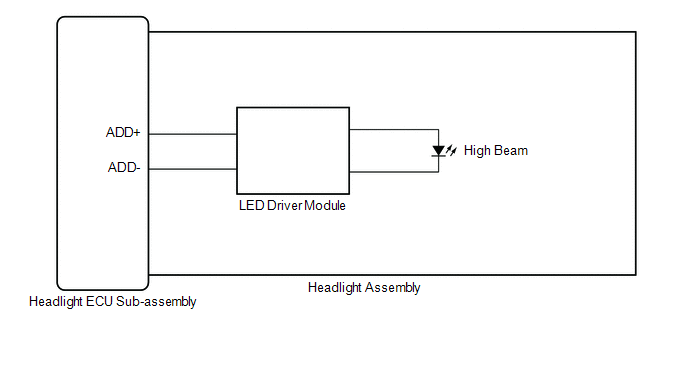 CAUTION / NOTICE / HINT NOTICE:
PROCEDURE
(a) Check the illumination of each high beam lights.
(a) Connect the Techstream to the DLC3. (b) Turn the engine switch on (IG). (c) Turn the Techstream on. (d) Enter the following menus: Body Electrical / HL AutoLeveling / Active Test. (e) Perform the Active Test according to the display on the Techstream. Body Electrical > HL AutoLeveling > Active Test
OK: High beam headlight turn on.
(a) Remove each headlight ECU sub-assembly, interchange the headlight assembly LH with RH and connect the connectors. Click here
(a) Check that the high beam headlight operates normally. OK: High beam headlight operates normally.
(a) Connect the Techstream to the DLC3. (b) Turn the engine switch on (IG). (c) Turn the Techstream on. (d) Enter the following menus: Body Electrical / HL AutoLeveling (Sub) / Active Test. (e) Perform the Active Test according to the display on the Techstream. Body Electrical > HL AutoLeveling (Sub) > Active Test
OK: High beam headlight turn on.
(a) Remove each headlight ECU sub-assembly, interchange the headlight assembly RH with LH and connect the connectors. Click here
(a) Check that the high beam headlight operates normally. OK: High beam headlight operates normally.
|
Toyota Avalon (XX50) 2019-2022 Service & Repair Manual > Driving Support Ecu: Removal
REMOVAL CAUTION / NOTICE / HINT The necessary procedures (adjustment, calibration, initialization or registration) that must be performed after parts are removed and installed, or replaced during driving support ECU assembly removal/installation are shown below. Necessary Procedure After Parts Remov ...


