DESCRIPTION The headlight ECU sub-assembly LH and headlight ECU sub-assembly RH internally boost the power supply voltage to ensure a constant supplied current for the low beam LED of their respective headlight. By monitoring the LED power supply voltage, abnormal current and malfunctions can be detected.
WIRING DIAGRAM 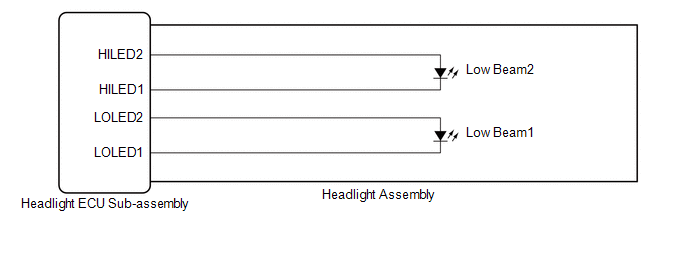 CAUTION / NOTICE / HINT NOTICE:
PROCEDURE
(a) Connect the Techstream to the DLC3. (b) Turn the power switch on (IG). (c) Turn the Techstream on. (d) Enter the following menus: Body Electrical / HL AutoLeveling or HL AutoLeveling (Sub) / Trouble Codes. (e) Clear the DTCs. Body Electrical > HL AutoLeveling > Clear DTCs Body Electrical > HL AutoLeveling (Sub) > Clear DTCs
(a) Connect the Techstream to the DLC3. (b) Turn the power switch on (IG). (c) Operate the light control switch to turn on the low beam headlights and wait 10 seconds or more. (d) Turn the Techstream on. (e) Enter the following menus: Body Electrical / HL AutoLeveling or HL AutoLeveling (Sub) / Trouble Codes. (f) Check for DTCs. Body Electrical > HL AutoLeveling > Trouble Codes Body Electrical > HL AutoLeveling (Sub) > Trouble CodesOK: DTC B2439 and B243A are not output.
(a) Remove each headlight ECU sub-assembly, interchange the headlight assembly LH with RH and connect the connectors. Click here
(a) Connect the Techstream to the DLC3. (b) Turn the power switch on (IG). (c) Turn the Techstream on. (d) Enter the following menus: Body Electrical / HL AutoLeveling or HL AutoLeveling (Sub) / Trouble Codes. (e) Clear the DTCs. Body Electrical > HL AutoLeveling > Clear DTCs Body Electrical > HL AutoLeveling (Sub) > Clear DTCs
(a) Connect the Techstream to the DLC3. (b) Turn the power switch on (IG). (c) Operate the light control switch to turn on the low beam headlights and wait 10 seconds or more. (d) Turn the Techstream on. (e) Enter the following menus: Body Electrical / HL AutoLeveling or HL AutoLeveling (Sub) / Trouble Codes. (f) Check for DTCs. Body Electrical > HL AutoLeveling > Trouble Codes Body Electrical > HL AutoLeveling (Sub) > Trouble Codes
(a) Remove each headlight ECU sub-assembly, interchange the headlight assembly RH with LH and connect the connectors. Click here
(a) Connect the Techstream to the DLC3. (b) Turn the power switch on (IG). (c) Turn the Techstream on. (d) Enter the following menus: Body Electrical / HL AutoLeveling or HL AutoLeveling (Sub) / Trouble Codes. (e) Clear the DTCs. Body Electrical > HL AutoLeveling > Clear DTCs Body Electrical > HL AutoLeveling (Sub) > Clear DTCs
(a) Connect the Techstream to the DLC3. (b) Turn the power switch on (IG). (c) Operate the light control switch to turn on the low beam headlights and wait 10 seconds or more. (d) Turn the Techstream on. (e) Enter the following menus: Body Electrical / HL AutoLeveling or HL AutoLeveling (Sub) / Trouble Codes. (f) Check for DTCs. Body Electrical > HL AutoLeveling > Trouble Codes Body Electrical > HL AutoLeveling (Sub) > Trouble Codes
|
Toyota Avalon (XX50) 2019-2022 Service & Repair Manual > Camshaft Oil Control Valve(for Intake Side Of Bank 1): Installation
INSTALLATION PROCEDURE 1. INSTALL CAMSHAFT TIMING GEAR BOLT (a) Make sure that the No. 1 cylinder is at TDC/compression. HINT: Check that the cutout of the camshaft timing gear assembly is at the top and align the timing mark (cutout) of the crankshaft pulley with the timing mark on the timing chain ...


