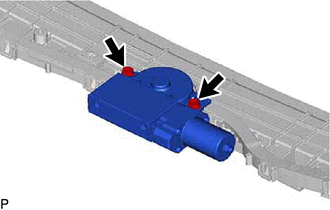
DISASSEMBLY PROCEDURE 1. REMOVE SLIDING ROOF DRIVE GEAR ASSEMBLY (a) Remove the bolt. 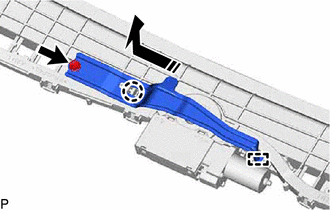
(b) Disengage the claw and guide as shown in the illustration to remove the map light bracket.
2. REMOVE SUNSHADE TRIM SUB-ASSEMBLY (a) Remove the screw. 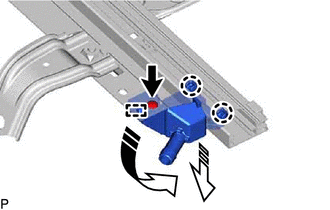
HINT: Use the same procedure for the RH side. (b) Move the sliding roof piece sub-assembly LH in the direction indicated by the arrow (1) shown in the illustration to disengage the guide. HINT: Use the same procedure for the RH side. (c) Move the sliding roof piece sub-assembly LH in the direction indicated by the arrow (2) shown in the illustration to disengage the 2 claws and remove it. HINT: Use the same procedure for the RH side. (d) Remove the rear sliding roof sunshade stopper as shown in the illustration. 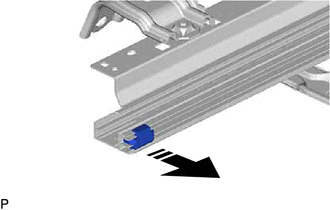
HINT: Use the same procedure for the RH side. (e) Slide and remove the sunshade trim sub-assembly as shown in the illustration. 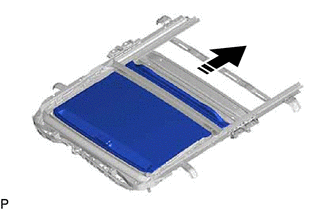
3. REMOVE SLIDING ROOF DRIVE CABLE SUB-ASSEMBLY NOTICE: Do not disassemble the sliding roof drive cable sub-assembly except when replacing it. (a) Using a screwdriver, disengage the 2 claws as shown in the illustration. 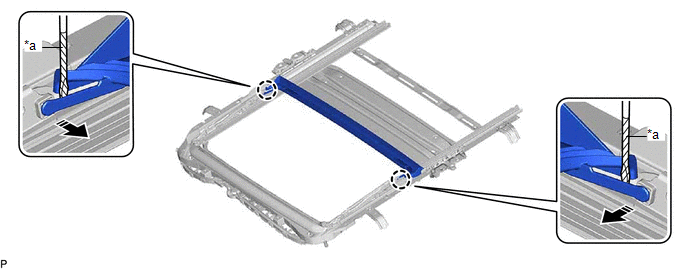
HINT: Tape the screwdriver tip before use. (b) Slide and remove the rear roof drip channel as shown in the illustration. 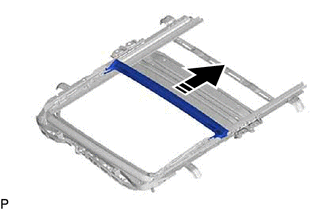
(c) Hold down the roof wind deflector panel sub-assembly. 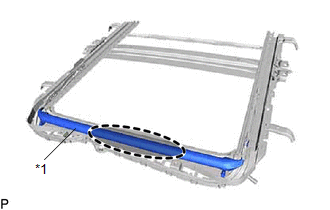
(d) Using a screwdriver, slide the sliding roof drive cable LH as shown in the illustration to remove it. 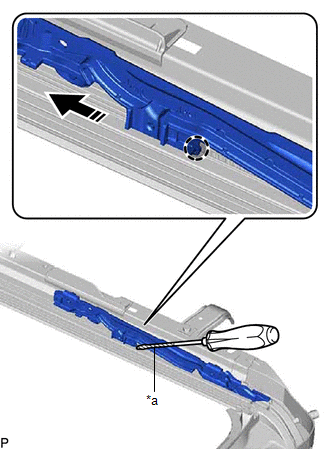
HINT:
|
Toyota Avalon (XX50) 2019-2022 Service & Repair Manual > Power Steering System(for Hv Model): Dtc Check / Clear
DTC CHECK / CLEAR CHECK DTCs (USING TECHSTREAM) (a) Turn the power switch off. (b) Connect the Techstream to the DLC3. (c) Turn the power switch on (IG). (d) Turn the Techstream on. (e) Enter the following menus: Chassis / EMPS / Trouble Codes. Chassis > EMPS > Trouble Codes (f) Check the deta ...