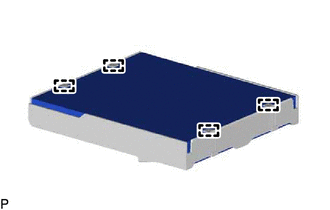
Components COMPONENTS ILLUSTRATION 
Installation INSTALLATION PROCEDURE 1. INSTALL CLEAN AIR FILTER (a) Engage the 2 guides on the cutout side of the air filter case and then engage the 2 guides as shown in the illustration to install the clean air filter. 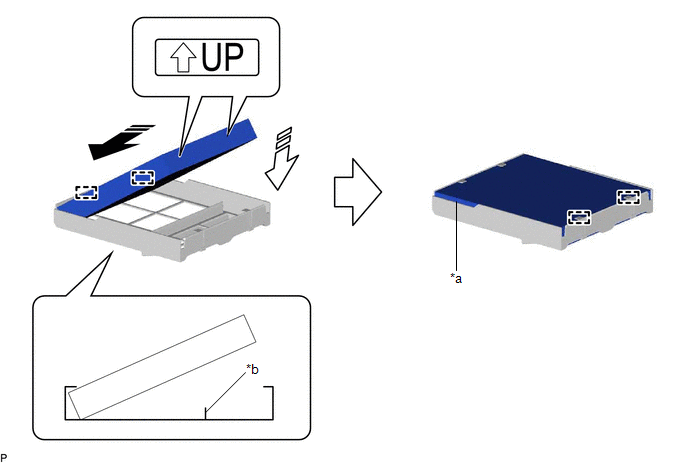
NOTICE:
(b) Install the air filter sub-assembly as shown in the illustration. 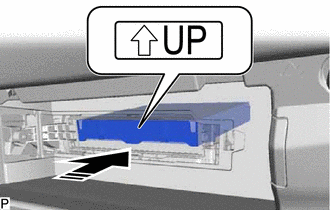
NOTICE: Make sure that the "UP" mark is facing the correct direction before installing the air filter sub-assembly. 2. INSTALL AIR FILTER COVER PLATE (a) Engage the 2 guides and claw as shown in the illustration to install the air filter cover plate. 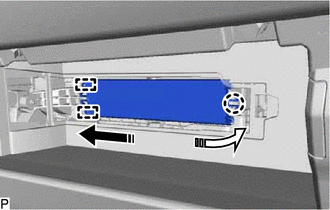
3. INSTALL LOWER INSTRUMENT COVER LH (a) Engage the 2 guides and claw to install the lower instrument cover LH as shown in the illustration. 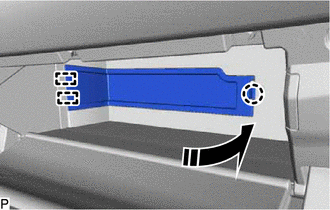
Removal REMOVAL PROCEDURE 1. REMOVE LOWER INSTRUMENT COVER LH (a) Open the lower instrument panel door. (b) Disengage the claw and 2 guides to remove the lower instrument cover LH as shown in the illustration. 
2. REMOVE AIR FILTER COVER PLATE (a) Disengage the claw and 2 guides as shown in the illustration to remove the air filter cover plate. 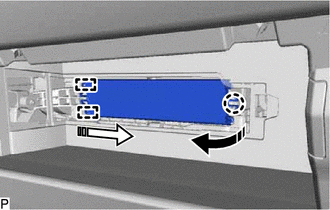
3. REMOVE CLEAN AIR FILTER (a) Remove the air filter sub-assembly as shown in the illustration. 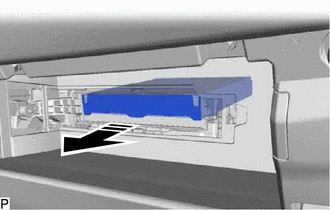
|
Toyota Avalon (XX50) 2019-2022 Service & Repair Manual > Sfi System: Diagnosis System
DIAGNOSIS SYSTEM DESCRIPTION When troubleshooting OBD II (On-Board Diagnostics) vehicles, the Techstream (complying with SAE J1978) must be connected to the DLC3 (Data Link Connector 3) of the vehicle. Various data in the vehicle's ECM (Engine Control Module) can be then read. OBD II regulations req ...