INSTALLATION PROCEDURE 1. INSTALL NO. 2 ECM BRACKET (a) Install the No. 2 ECM bracket to the ECM with the 2 screws. Torque: 4.5 N·m {46 kgf·cm, 40 in·lbf} 2. INSTALL NO. 1 ECM BRACKET (a) Install the No. 1 ECM bracket to the ECM with the 2 screws. Torque: 4.5 N·m {46 kgf·cm, 40 in·lbf} 3. INSTALL ECM
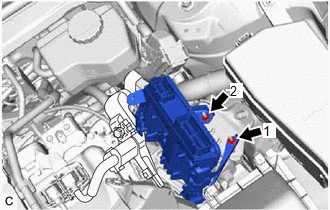
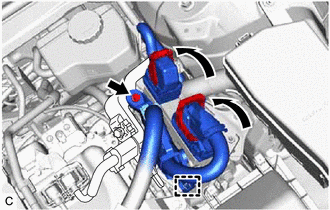
(c) Install the engine wire to the No. 2 ECM bracket with the bolt. Torque: 10 N·m {102 kgf·cm, 7 ft·lbf} (d) Connect the 2 ECM connectors and rotate the 2 levers to lock them. NOTICE:
4. CONNECT CABLE TO NEGATIVE AUXILIARY BATTERY TERMINAL Click here
5. INSTALL LUGGAGE TRIM SERVICE HOLE COVER Click here 6. PERFORM INITIALIZATION Click here |
Toyota Avalon (XX50) 2019-2022 Service & Repair Manual > Sfi System: Actuator Supply Voltage "A" Stuck On (P06579E)
MONITOR DESCRIPTION The ECM monitors the output voltage to the throttle actuator. This self-check ensures that the ECM is functioning properly. The output voltage is usually 0 V when the power switch is turned off. If the output voltage is 7 V or higher when the power switch is turned off, the ECM w ...