REMOVAL CAUTION / NOTICE / HINT The necessary procedures (adjustment, calibration, initialization or registration) that must be performed after parts are removed and installed, or replaced during hybrid battery thermistor removal/installation are shown below. Necessary Procedures After Parts Removed/Installed/Replaced
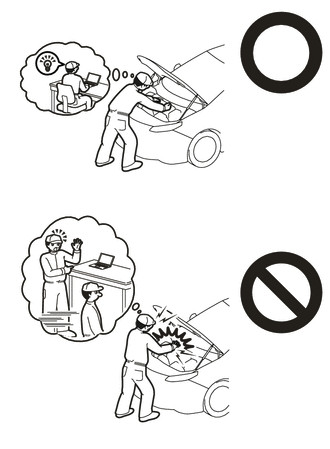
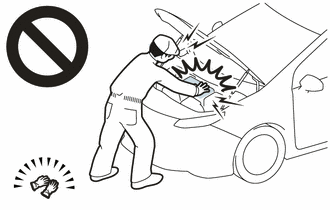
CAUTION:
NOTICE: After turning the power switch off, waiting time may be required before disconnecting the cable from the negative (-) auxiliary battery terminal. Therefore, make sure to read the disconnecting the cable from the negative (-) auxiliary battery terminal notices before proceeding with work. Click here PROCEDURE 1. REMOVE HV BATTERY Click here 2. REMOVE UPPER HV BATTERY COVER SUB-ASSEMBLY Click here
3. REMOVE HV BATTERY JUNCTION BLOCK ASSEMBLY Click here 4. REMOVE NO. 2 HYBRID BATTERY SHIELD SUB-ASSEMBLY CAUTION: Be sure to wear insulated gloves and protective goggles.
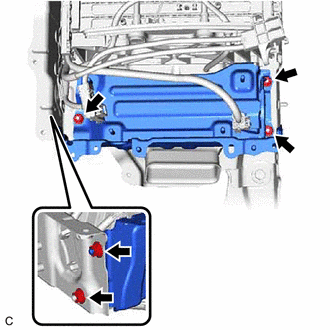
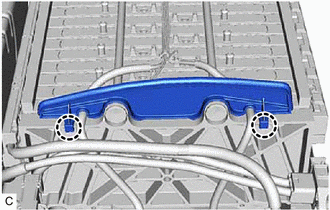
(b) Pull back the rear No. 1 HV battery shield and remove the No. 2 hybrid battery shield sub-assembly from the HV battery. 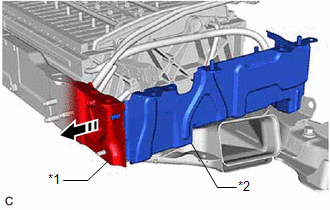
HINT: Pull back the rear No. 1 HV battery shield until it is separated from the stud bolt of the No. 2 hybrid battery shield sub-assembly. 5. REMOVE NO. 1 HV BATTERY INTAKE DUCT LH CAUTION: Be sure to wear insulated gloves and protective goggles.
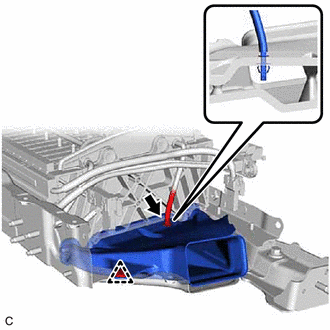
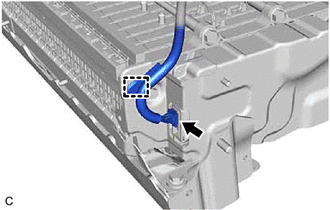
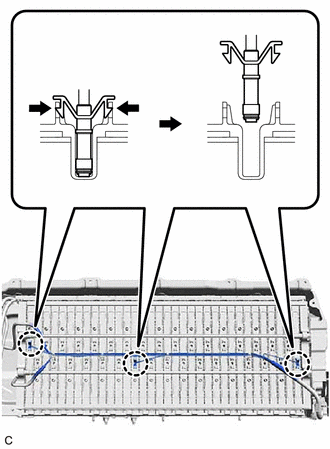
(b) Disengage the claw of hybrid battery thermistor (sensor portion) and remove the No. 1 HV battery intake duct LH. 6. REMOVE HYBRID BATTERY THERMISTOR CAUTION: Be sure to wear insulated gloves and protective goggles.
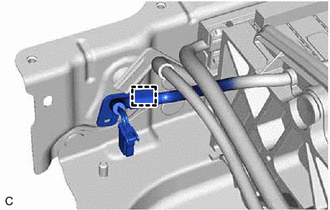
(d) Disconnect the battery voltage sensor connector.
| |||||||||||||||||||||||||||||||||||||||||||||||||||
Toyota Avalon (XX50) 2019-2022 Service & Repair Manual > Electronically Controlled Brake System(for Gasoline Model): Master Cylinder Pressure Sensor (C1246)
DESCRIPTION The master cylinder pressure sensor is connected to the skid control ECU in the brake actuator assembly. DTC No. Detection Item DTC Detection Condition Trouble Area C1246 Master Cylinder Pressure Sensor Any of the following is detected: The voltage of the sensor signal is out of range (b ...