REMOVAL PROCEDURE 1. PRECAUTION NOTICE:
2. REMOVE LOWER INSTRUMENT PANEL FINISH PANEL LH Click here
3. REMOVE LOWER INSTRUMENT PANEL FINISH PANEL RH Click here 4. REMOVE FRONT CONSOLE UPPER PANEL GARNISH Click here 5. REMOVE CONSOLE BOX POCKET SUB-ASSEMBLY Click here 6. REMOVE CENTER INSTRUMENT CLUSTER FINISH PANEL SUB-ASSEMBLY Click here 7. REMOVE CENTER NO. 1 INSTRUMENT CLUSTER FINISH PANEL Click here 8. REMOVE CENTER NO. 2 INSTRUMENT CLUSTER FINISH PANEL Click here 9. REMOVE RADIO AND DISPLAY RECEIVER ASSEMBLY WITH BRACKET Click here 10. REMOVE NO. 2 HEATER TO REGISTER DUCT SUB-ASSEMBLY Click here 11. REMOVE NAVIGATION ECU WITH BRACKET (a) w/o Manual (SOS) Switch:
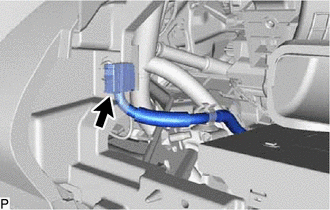
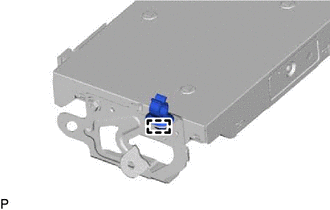
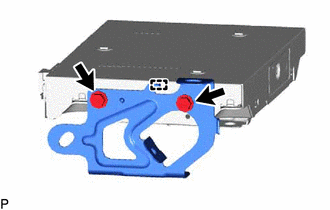
(2) Remove the 2 nuts and pull the navigation ECU with bracket as shown in the illustration. 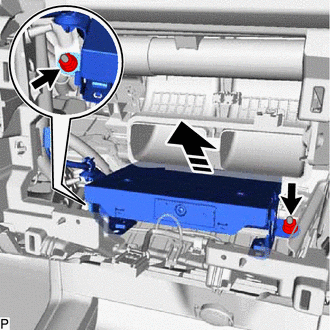
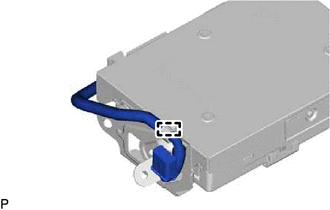
(3) Disconnect each connector and remove the navigation ECU with bracket. (b) w/ Manual (SOS) Switch:
(2) Remove the 2 nuts and pull the navigation ECU with bracket as shown in the illustration. 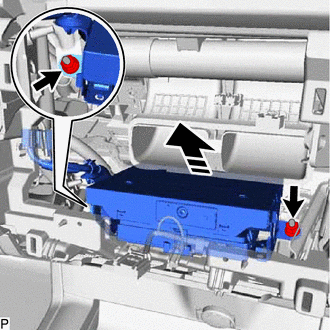
(3) Disconnect each connector and remove the navigation ECU with bracket. 12. REMOVE NO. 5 ANTENNA CORD SUB-ASSEMBLY Click here
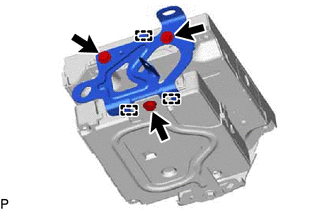
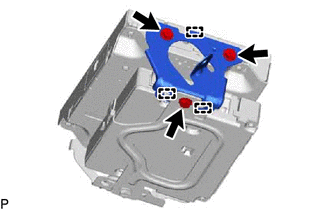
13. REMOVE NO. 2 TELEPHONE BRACKET (a) w/o Manual (SOS) Switch:
(b) w/ Manual (SOS) Switch:
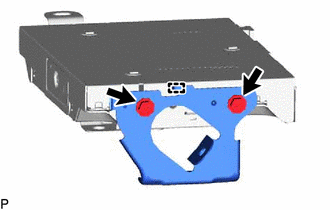
14. REMOVE NO. 1 TELEPHONE BRACKET (a) w/o Manual (SOS) Switch:
(b) w/ Manual (SOS) Switch:
15. REMOVE DCM (TELEMATICS TRANSCEIVER) WITH ANTENNA CORD (w/ Manual (SOS) Switch) 16. REMOVE NAVIGATION ECU |
Toyota Avalon (XX50) 2019-2022 Service & Repair Manual > Vehicle Proximity Notification System: Precaution
PRECAUTION PRECAUTION FOR DISCONNECTING CABLE FROM NEGATIVE AUXILIARY BATTERY TERMINAL NOTICE: When disconnecting the cable from the negative (-) auxiliary battery terminal, initialize the following systems after the cable is reconnected. System Name See Procedure Lane Departure Alert System (w/ Ste ...