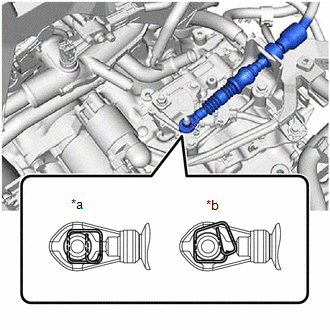
INSTALLATION PROCEDURE 1. INSTALL TRANSMISSION CONTROL CABLE ASSEMBLY (a) Pass the transmission control cable assembly into the vehicle and install the transmission control cable assembly to the vehicle body with the 2 nuts. Torque: 6.0 N·m {61 kgf·cm, 53 in·lbf} (b) Connect the transmission control cable assembly to the vehicle body with the 2 nuts. Torque: 6.0 N·m {61 kgf·cm, 53 in·lbf} (c) Connect the transmission control cable assembly to the No. 1 transmission control cable bracket with a new clip.
2. INSTALL NO. 1 CONSOLE BOX DUCT (a) Install the No. 1 console box duct. 3. INSTALL TRANSMISSION FLOOR SHIFT ASSEMBLY Click here
4. INSTALL FRONT LOWER NO. 1 FLOOR HEAT INSULATOR (a) Install the front lower No. 1 floor heat insulator to the vehicle body with the 2 nuts. Torque: 4.9 N·m {50 kgf·cm, 43 in·lbf} 5. INSTALL FRONT EXHAUST PIPE ASSEMBLY Click here 6. INSTALL BATTERY CLAMP SUB-ASSEMBLY Click here 7. INSTALL ECM Click here
8. INSTALL BATTERY Click here
9. INSPECT SHIFT LEVER POSITION Click here
10. ADJUST SHIFT LEVER POSITION Click here
|
Toyota Avalon (XX50) 2019-2022 Service & Repair Manual > Sfi System: Customize Parameters
CUSTOMIZE PARAMETERS CUSTOMIZE ENGINE CONTROL SYSTEM HINT: The following items can be customized. NOTICE: When the customer requests a change in a function, first make sure that the function can be customized. Be sure to make a note of the current settings before customizing. When troubleshooting a ...